Working with Glass

I decided to break the screen down, to make the TV easier to move because it was so heavy, and I wasn't planning on doing anything with the glass, but instead of throwing it away, I decided to combine it with my work.
a lot of the glass was quite thick, so when you looked through it, it would distort whatever you were looking at. I thought this was really interesting, so I started to play around with the glass a bit more by using it to distort colour. I thought this would be a good way to be a bit experimental, as in my last tutorial Fiona had spoken about a project she'd overseen, where students would have a piece of fabric, and they had to manipulate it in different ways. I thought I could try something similar with the glass, to see what I could achieve.... 

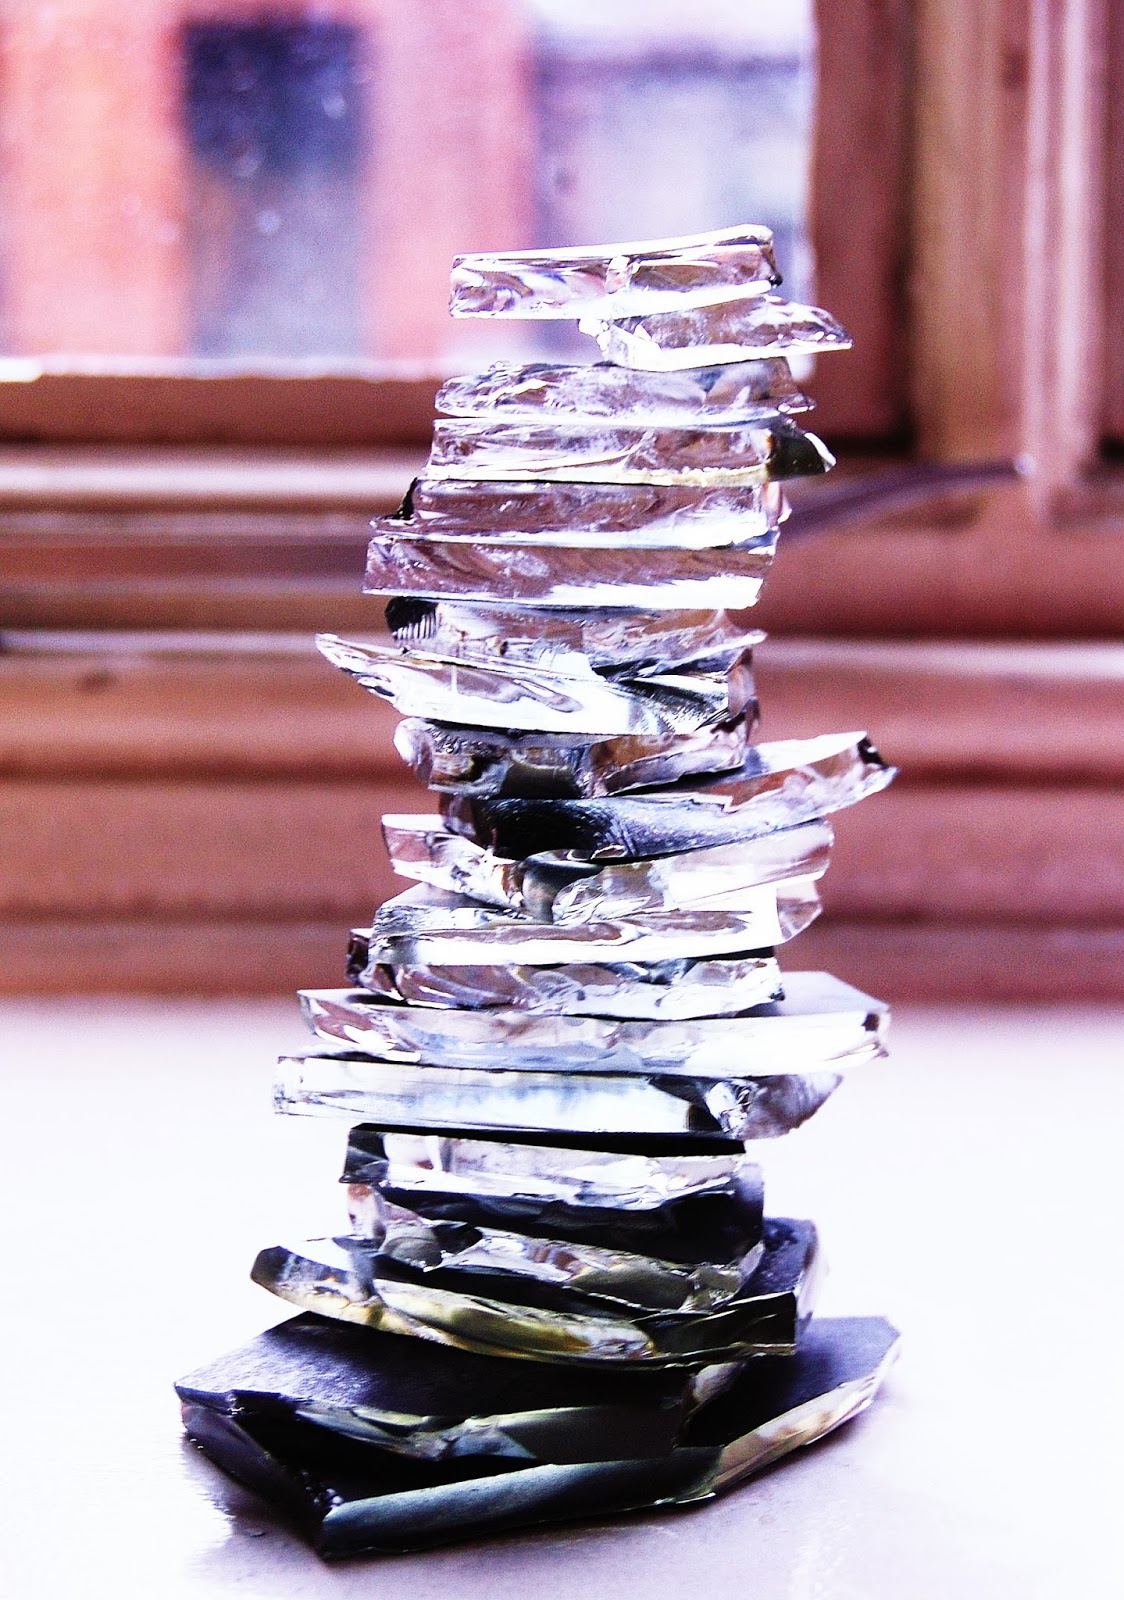
I layered up the glass and fixed the pieces together with glue. I think this piece looks really interesting, because it distorts the appearance of whatever's behind it. I think this would be a good piece to experiment with on photoshop.


Painting on glass  
I didn't actually think that the paint would stick to pieces of glass, but I think it created an interesting technique because the paint takes the shine away from the glass, and gives it a matt surface.


Painting under glass 
This was really interesting because you can still see the colour under the glass, but the glass gives the paint a textured surface.
 

Different Papers 
I presented the glass in a range of different forms, and by using different sized pieces, in order to experiment with shape and pattern.

Black Card 
I really liked this effect because the glass looks white, which contrasts well against card.

Hand made paper
I made a few sheets of recycled paper ages ago, and I thought I would put it to some use, but I don't think this worked very well because the paper was textured, it made it really hard for the glass to stick to.

White paper
All the pictures I took made the glass look purple, which I think looks really interesting. I think it must have been the light at the time.


Wallpaper 
I had a sample sized piece of black, glittery wall paper, and I think that the glass contrasts really well against it. The small pieces of glass blend in well with the glitter, and the glitter ads a bit of colour. 


Printing with Glass
This created some interesting shapes and because I printed with the class on stitch an interfacing fabric, that is a bit transparent, you can layer the pieces up to create different patterns.


Frosting glass
I sanded down two small pieces of glass, to see how long it would take to make frosted glass by hand. I'd read that you can get stone tumblers, and people can make frosted glass that way, however for fear of being sidetracked, I'll just leave it here!

colour

I found that blurring the photos of my components made it a lot easier to see the colour, so I took this opportunity to develop a colour pallet from my components. I completed a few paintings of them first, so that I could see which colours I was using most. I then when onto creating painted colour stripes, but this took a long time to do.


But after I had some time to think, I decided to open my photos up on photoshop, and created colour stripes by using the eye drop tool on there. I was able to break down the colour of each image a lot faster. Once I'd done that, I picked out the most common colours from each of my colour stripes to create my own colour pallet for my project.


I think that this colour pallet is really bright and upbeat, considering it originates from the components found in a TV! I also recreated my colour pallet out of madeira threads, so that my colours will be the same when I come to stitching.


Artist Research

Charlotte Smith
I thought that Charlotte Smith's work with colour was very interesting. She uses blobs of acrylic paint to create small 3D structures that rise up out of her work. I thought that this was a really interesting way of using paint because it isn't usually used to create 3D forms, but to decorate flat surfaces.
Looking at her work inspired me to broaden my use of materials. To create a 3D effect I have used window paints, used to make decorative stickers for windows. When it dries it creates a raised surface, and it forms a plastic-like texture. I can create the same effect by layering up blobs, but I have also used it when recreating my photos on paper. The paint has a shiny surface and creates some interesting outcomes when I was copying the blurry shapes onto paper.
I like this 3D effect, and I hope to experiment more with it in order to take it further.


Leonardo Ulian 
This artist has been creating a series of 'technological Mandalas'- reinterpretations of the Hindu and Buddhist symbol of metaphysical enlightenment, made using electronic components arranged in intricate patterns and soldered together. I think that these pieces look really initiative, and I especially like his 3D tree-shaped one. I think that the shapes he has created would work really well if they were printed onto a flat surface as a pattern.  
I think its really interesting to see how different artists can create different outcomes out of the same objects. Most of the components I have retrieved from my collection of circuit boards are bent, mangled or broken, whilst Ulian uses mainly new components.


Young Min Kang 
I thought that this artist created a really interesting piece that represents moving traffic through displaying it as pixels of colour. In this piece he has used printed strips displaying a row of pixels, and he has weaved them through wire mesh, creating a huge 3D image. I think I was drawn to the green colours because they look like the greens displayed in my circuit boards. Even though the concept is completely different from my own work, this has given me some ideas on how I can investigate the colour of the components more by creating colour strips and possibly rearranging them in different ways. 


BRC Designs 
I wanted to see how other designers literally used electrical equipment in their 'up-cycled' designs, and I came across BRC designs. They created the Binary Collection, where they created a range of furniture pieces by recycling circuit boards. I think the chairs look particularly uncomfortable and all the pieces look really sharp, but again I find it interesting to see how the electrical components can be used to create different objects when they are manipulated in different ways. The company has also created a range of different collections where they have created pieces of furniture by using weird and wonderful recycled objects. The link to their website is here, which I'm sure I will refer back to in the future. 


Documenting With Photos

For the past day or so I have been creating patterns with my components and photographing the different shapes that are created. I think that this will allow me to really appreciate the range of colours and shapes of the different components. From my photos I have made some paintings. The photos that I am drawn to are the ones where the focus is out, creating a blurry effect, which I think looks really interesting because it simplifies the colours and shapes created by the components. I have recreated these photos with water colour paint, which can create a blurry effect when it is more watery.


Taking apart my TV

I knew this would be the most tedious part of my project and after unscrewing, hammering, smashing and soldering I have finally taken apart my TV, and all the components inside. Unfortunately I don't have before and after pictures, however it was an old Sony Trinitron TV that looked like the one below:


and now it looks like this:


It took a while taking everything apart but I have to admit, I didn't think it would take me so long to clean everything too. I feel like my knowledge of what's inside a TV set has dramatically improved this week, since I've had to make sure everything I want to do is safe. 
So basically this is a CRT (Cathode Ray Tube) TV. The CRT is a vacuum tube containing an electron gun and a fluorescent screen used to view images. The screen is really heavy, consisting of thick glass and is fairly fragile, as I have managed to crack mine. I had to let air back into the tube by cracking it. I did this as safely as I could, and I also watched a few you tube videos on how to do it, but this one was the most helpful. 

For my first few pieces of work, I have started to look at the components of the television. Having now taken everything apart and sorted it out into bags of different sizes, I have now started to document what I have collected in my sketch book. I have sketched the components, drawn around them to see what their silhouettes look like on paper and also made a few basic patterns from this method, and, I have painted them to show more detail. 
I have also been looking closely at the circuit boards. I like the different shades of green, and I am planning to use the range of tones more through out the project. I also like the different shapes and patterns with in the circuit boards, and I have been using them to print with. The most effective way I have found that transfers the pattern onto fabric is by creating a rubbing with a crayon onto an interfacing fabric. I used this fabric because it feels a bit like paper, so it is less likely to rip on the sharper sections of the circuit board. I also like this fabric because it is slightly see-through. 
I find that the metal wires soldered on top of the circuit boards create an interesting texture. They also look like embroidery on the board, as they weave in and out of the holes in the plastic. This made me think about how different materials can be used to stitch with, so I have also had a go at recreating this method with some copper wire taken from the TV sewn through paper. I really like the effect this technique creates, as you can use it to create straight, tight stitches, or curly loose ones that hold an interesting shape.